Electric Skateboard
Collaborators:
Introduction:
In the fall quarter of my freshman year of college, I decided I wanted to build an electric skateboard. Why? I couldn't tell you. But, I was determined to do so and I found someone who could help me. There were 3 parts to this project:
- Determining the desired specifications
- Specifying and ordering parts that could meet our specifications
- Assembling (and lots of problem solving)
We began this process by determining our desired specifications: range, speed, and power. While hyper-unrealistic, I thought it would be cool to be able to skateboard from Evanston to Chicago (I skated to Skokie once ~3 miles away, never doing that again). Using Excel, we created a spreadsheet that allowed us to easily determine the gear ratio and motors required in order to achieve our determined speed and power. The spreadsheet is linked here.
Furthermore, we decided it would be easiest to buy a truck kit with wheels and gears for the pulley system instead of making our own. This kit had a gear ratio of 2.4. Our motors had a 192 KV rating. This translated to a speed of about 30mph without a load.
In order to power the motors enough to achieve our desired speed, we decided on using 26650 lithium ion cells in a 12s3p configuration. We bought some recycled cells off battery hookup and soldered on the busbars. We chose a BMS to protect against 100 Amps for a 12s battery and a dual esc for the two motor drive.
Assembly:
The assembly process consisted mostly of many small processes, but was a fun learning experience.
- Battery Assembly: We soldered the parallel packs together with tin bussbars. Then we soldered the packs in series and soldered the connections to the BMS.
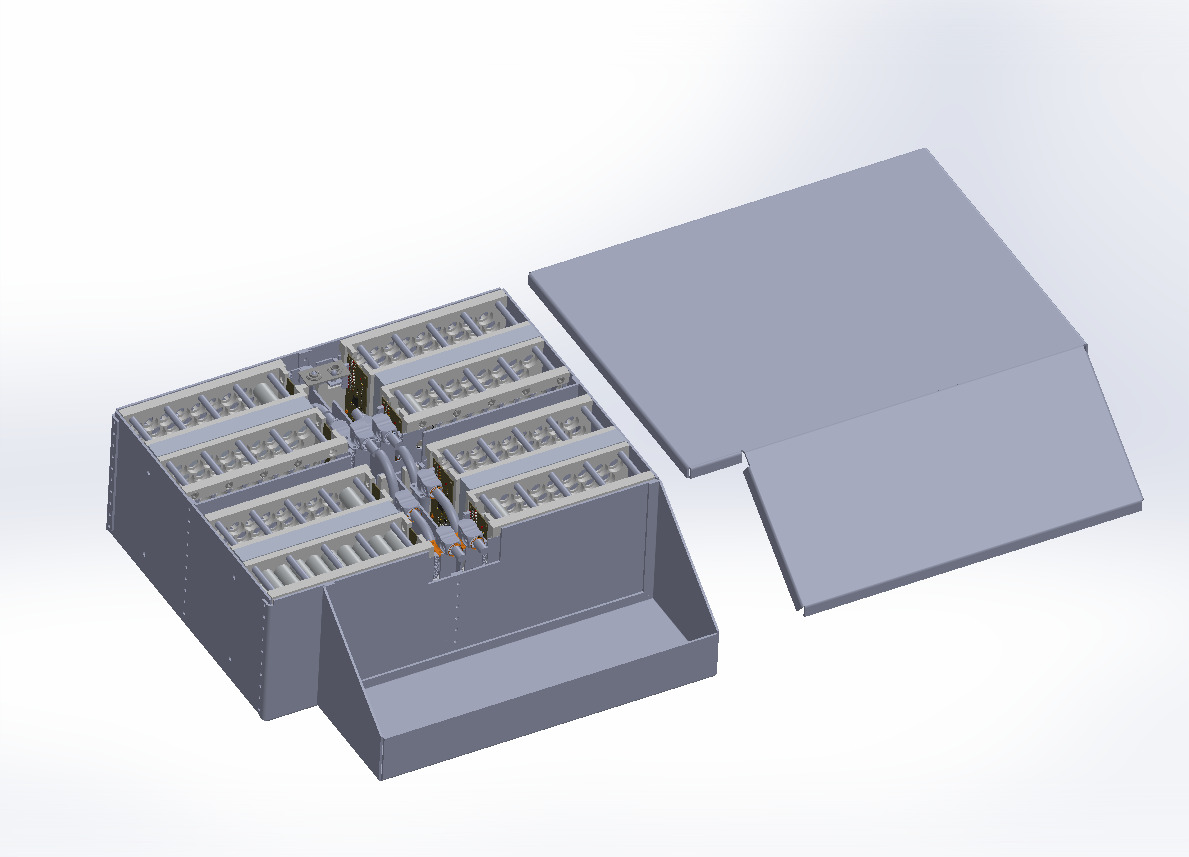
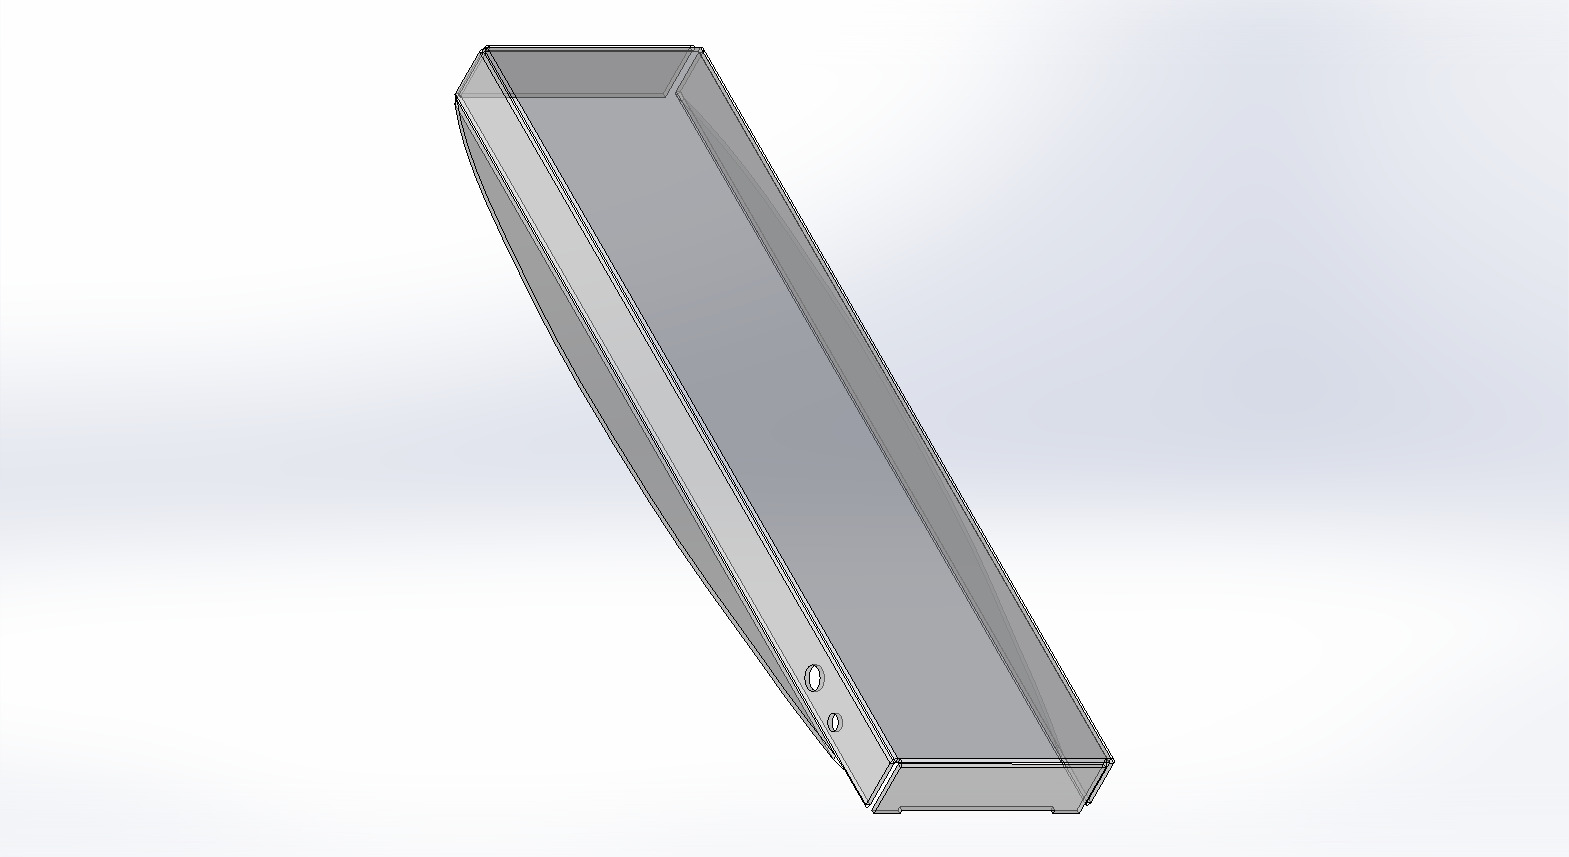
- Polycarbonate Casing: I designed a case for the electrical components on Solidworks, matching the geometry of the skateboard, and waterjet it from 1/8" polycarbonate. After this, I used the sheet metal bender to bend up the sides.
- Anodizing: The motors had a keyway without a key. We took key stock and shaved down our own, then heated it up with a blowtorch before dunking it in cold water to anodize it.
- Attachment: We drilled holes through the board and the casing. We fastened the two together with m4 bolts. However, my first casing cracked due to mechanical vibrations. On the second iteration, I used rubber spacers to prevent cracking.
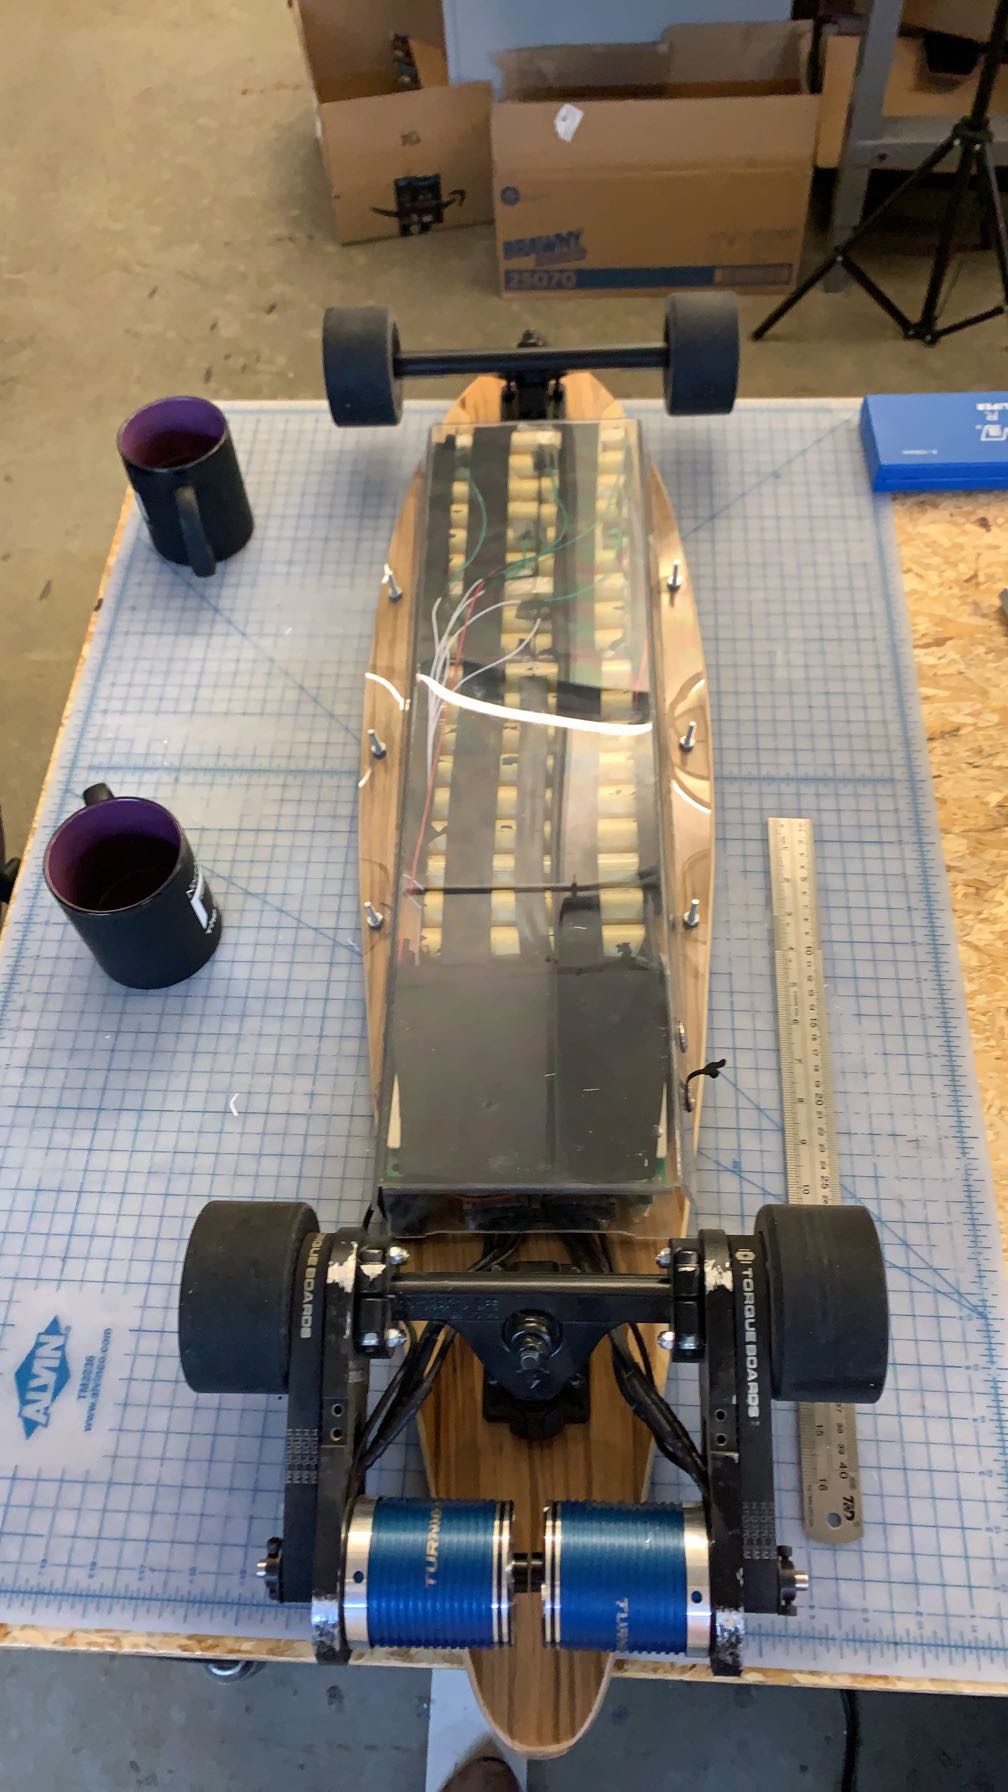
- Finishing Touches: We used vibration dampening foam to protect the batteries. We used adhesive heatshrink to connect the motors to the ESC. We sprayed the electronic components with conformal coating and filled in the corners of the casing with silicon caulk.
Conclusion:
The final product is awesome. It reaches a top speed of 25 mph with me on it and accelerates way too fast. The battery never dies and now I am never late for class!
Skills Used:
Battery Assembly
Excel
Soldering
Electronics Design
Waterjet
Problem Solving